How to add Cypress End-To-End tests to a Gatsby TypeScript project

End-To-End tests are vital for any front-end project if you’re concerned about the quality of the experience you provide to users with your application.
In this post, I will go through the process of adding E2E tests to a Gatsby TypeScript project with Cypress (opens in a new tab).
Pre-requisites
You will need a Gatsby application to try this out. I will be using the Gatsby Starter (opens in a new tab) project that I built. Feel free to use the same or you can use this approach on any Gatsby TypeScript project.
Read the docs (opens in a new tab) to learn how to create a Gatsby app or explore other TypeScript starters (opens in a new tab).
Let’s get started
Install Cypress
npm i --save-dev cypressAdd helper npm scripts
Add the following two scripts in the script section in package.json.
"cy:headless": "cypress run",
"cy:interactive": "cypress open",
cy:headless
Runs Cypress in headless mode (opens in a new tab). Headless mode runs the tests without using any browser and outputs to the terminal.
cy:interactive
Runs Cypress in the interactive mode on a test runner (opens in a new tab).
Initial Run
Let’s run cypress in the interactive mode.
npm run cy:interactiveCypress will recognize that this is the first time, and will set up the necessary files and configurations, and will open up the test runner.
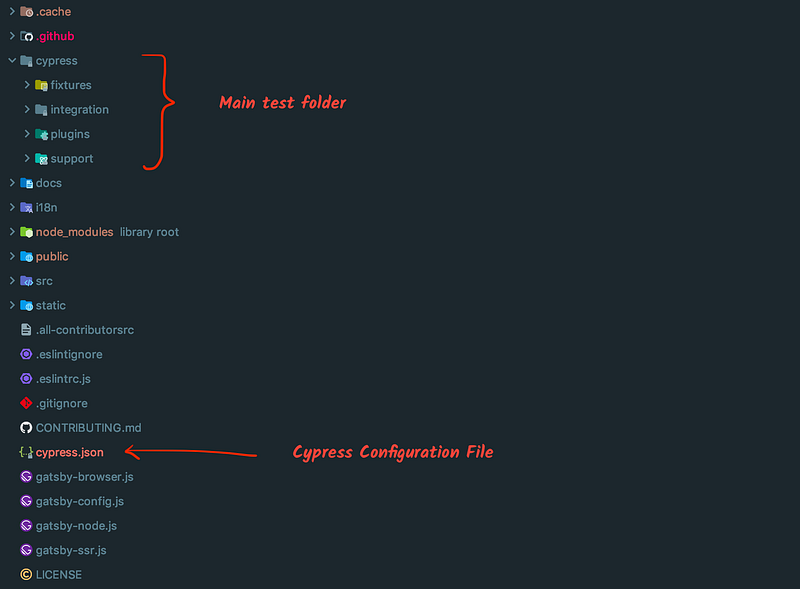

Add configurations
Let’s configure some basics in the cypress.json file.
{
    "baseUrl": "http://localhost:8000",
    "integrationFolder": "cypress/e2e",
    "testFiles": "**/*.spec.*",
    "viewportHeight": 720,
    "viewportWidth": 1080
}
baseUrl
URL used as a prefix for cy.visit() Since my starter runs on localhost port 8000, I will be using that. You can add the URL for your own app here.
integrationFolder
Where tests are held. I prefer to rename this as e2e when I’m writing End-To-End tests using Cypress. Since integration could convey the wrong meaning in the context of e2e testing 😉.
testFiles
Glob patterns of the test files to load. I like to name my test files as *.spec.*. You can use any pattern you want.
viewportHeight
Height in pixels for the application in the test runner. The default is 660 and for my starter, it activates the tablet view. Hence, I prefer to go with 720.
viewportWidth
Width in pixels for the application in the test runner. The default is 1000 and I prefer to go with 1080.
Setup e2e folder
Remove the cypress/integration folder inside the cypress directory and create a new folder called e2e inside the cypress directory.
Prepare for TypeScript
Configure tsconfig
To write the tests in TypeScript, we need to have a tsconfig.json file inside the cypress directory.
Cypress documentation (opens in a new tab) recommends the following configuration.
{
    "compilerOptions": {
        "target": "es5",
        "lib": [
            "es5",
            "dom"
        ],
        "types": [
            "cypress"
        ]
    },
    "include": [
        "**/*.ts"
    ]
}
Migrate existing JavaScript files to TypeScript
- Rename the
index.jsfile inside cypress/support directory toindex.ts
2. Rename the index.js file inside cypress/plugins directory to index.ts
The IDE will start to complain that it cannot find the name ‘module’(TS2591). To fix this follow the steps below.
- Install @types/node (opens in a new tab).
npm i --save-dev [@types/node](http://twitter.com/types/node "Twitter profile for @types/node")- Add “node” to types array in
tsconfig.json.
{
    "compilerOptions": {
        ...
        "types": [
            ...
            "node"
        ]
    },
    ...
}
Let’s write our first test
Create a new file called smoke.spec.ts
In this test, I will assert if the app can navigate to the Home page and Pricing page successfully.
/// describe("The App works as expected.", () => {

    context("Can navigate to pages without issues.", () => {

        it("Can navigate to the home page.", () => {
            cy.visit("/");
        });

        it("Can navigate to the pricing page.", () => {
            cy.visit("/pricing");
        });
    });
}); 
Let’s write our first custom command
In my project, I use data-testid in elements as a unique id for testing. So I’m going to write a custom command to query elements using a data test id.
I will create a new file called dom.ts inside the cypress/support directory and will add a command there.
/**
 * Custom command to select DOM element by data-testid attribute.
 *
 * @example
 *    cy.dataTestId("") -> [data-testid=]
 *
 * @param {string} value - Attribute value.
 * @param {string} options - Attribute value.
 * @returns {Cypress.CanReturnChainable}
 */
Cypress.Commands.add("dataTestId", (value: string): Cypress.CanReturnChainable => {

    return cy.get(`[data-testid=${ value }]`);
});
Now if I try to use the command in my smoke test file, I will get an error like this.

This happens because TypeScript can not find any declaration file for the command. As of now, we have to write the typings manually to avoid these errors (Read official docs here (opens in a new tab)).
Inside the cypress directory**,** create a new folder called types. And inside that, create a new file called index.d.ts
Now define the typings for the custom command.
///

declare namespace Cypress {
    interface Chainable {
        /**
         * Custom command to select DOM element by data-testid attribute.
         * @example cy.dataTestId("index-heading")
         */
        dataTestId(value: string): Chainable;
    }
}
With this fix, the error should be gone and we should be able to invoke the custom command inside the test files.
Additional Step
With the existing configurations, we have to fist start the application and then run the test suite.
This is a cumbersome process and it would be better if there is a ways to fire up the server and run the tests with a single command.
For this purpose, we can use the start-server-and-test (opens in a new tab) package.
- Install
npm install --save-dev start-server-and-test2. Create an npm script.
"test:e2e": "start-server-and-test start [http://localhost:8000](http://localhost:8000) cy:interactive"Now if you execute npm run test:e2e , the script will execute npm run start and will fire up the application and after it is up, it’ll run Cypress in interactive mode.
Conclusion
Hope you found this blog post useful. Feel free to try this out and if you have any suggestions regarding the blog you can log an issue in this repo (opens in a new tab).
Links
Signing off… ✌️❤️