How to create a blog in Gatsby with MDX
In this post, I will go through the process of configuring a Gatsby application to be able to list out a blog index and render out MDX.
TL;DR
I will be adding a blog feature to my Gatsby starter (opens in a new tab) project based on the steps in this blog. And if you are impatient, check out this pull request (opens in a new tab) where I introduce the blog feature 😉 .
Pre-requisites
In order to follow up with this blog, you’ll need a Gatsby application. Read the docs (opens in a new tab) to learn how to create a Gatsby app or choose any of the starters (opens in a new tab).
As explained in TL;DR, I will be adding a blog feature to my Gatsby Starter and If you want to follow along, you can clone the repository and checkout to the commit c621aed0cbd101e4910a8305d09d506817b59ac7.
git clone [https://github.com/brionmario/gatsby-starter.git](https://github.com/brionmario/gatsby-starter.git)cd [gatsby-starter](https://github.com/brionmario/gatsby-starter.git)git checkout c621aed0cbd101e4910a8305d09d506817b59ac7Let’s get started
This will be my starting point. I have added a navigation item for the blog in the navbar and also created a basic page in src folder called blog.

Install core dependencies
npm install --save gatsby-plugin-mdx [@mdx](http://twitter.com/mdx "Twitter profile for @mdx")-js/mdx [@mdx](http://twitter.com/mdx "Twitter profile for @mdx")-js/react gatsby-plugin-page-creator `gatsby-source-filesystem`If you are on a TypeScript project install @types/mdx-js__react as a dev dependency to add typings support for MDX React package.
Install image optimization dependencies
The images in markdown are processed by gatsby-remark-images plugins and it also adds responsiveness with a nice blurry loading animation.
The sharp plugins create ImageSharp nodes from images that are supported by the Sharp (opens in a new tab) image processing library and let us access them via GraphQL.
npm install --save gatsby-remark-images gatsby-plugin-sharp gatsby-transformer-sharpAdd configurations
Configure file system plugins
Since we need to create dynamic pages for our posts(MDX files), gatsby-source-filesystem & gatsby-plugin-page-creator plugins have to be configured.
I’m planning to keep my posts inside a src/blog folder. gatsby-source-filesystem only creates pages for src/pages by default. So we need the support of gatsby-plugin-page-creator to achieve our target source. If you need to keep your blog posts elsewhere, more power to you 😛.
module.exports = {
    ...
    plugins: [
        {
            options: {
                name: "posts",
                path: `${__dirname}/src/blog`
            },
            resolve: "gatsby-source-filesystem"
        },
        {
            options: {
                path: `${__dirname}/src/blog`
            },
            resolve: "gatsby-plugin-page-creator"
        }
    ]
}
Configure MDX plugin
Now we need to configure the gatsby-plugin-mdx in gatsby-config.js.
module.exports = {
    plugins: [
        ...
        {
            gatsbyRemarkPlugins: [
                {
                    options: {
                        maxWidth: 1080
                    },
                    resolve: "gatsby-remark-images"
                }
            ],
            options: {
                extensions: [
                    ".mdx",
                    ".md",
                    ".markdown"
                ]
            },
            resolve: "gatsby-plugin-mdx"
        }
    ]
}
I have added the support for md and markdown extensions as well apart from the default mdx .
Also, I have only added the gatsby-remark-images for now. But there are a number of nice remark plugins that you can use with gatsby-plugin-mdx . Following are a few of them.
- gatsby-remark-copy-linked-files : Copies linked files.
- gatsby-remark-autolink-headers : Adds GitHub style link icon.
- gatsby-remark-prismjs : Adds syntax highlighting to code blocks.
Click here (opens in a new tab) to check out more configuration options available in
gatsby-plugin-mdx.
Configure Sharp plugins
Add the following sharp plugin configuration to the config (gatsby-config.js).
module.exports = {
    plugins: [
        ...
        "gatsby-transformer-sharp",
        {
            options: {
                defaults: {
                    formats: [
                        "auto",
                        "avif",
                        "webp"
                    ],
                    placeholder: "blurred",
                    quality: 70
                }
            },
            resolve: "gatsby-plugin-sharp"
        }
    ]
}
Programmatically create pages for blog posts
On the official Gatsby documentation page, there’s a detailed explanation of how this can be done. I will put the minimal changes that you need to get a blog up and running here. For detailed information, hop on to the official docs (opens in a new tab) if needed.
Create Sample Blog Posts
Since I chose to store my posts under src/blog when configuring the file system plugins in the earlier step, I will now create two folders to contain my two sample blog posts.
Following is the file structure I’m going to use.
src
|---blog
|    |---post-1
|          |---index.mdx
|    |---post-2
|          |---index.mdx
This is a sample MDX file that I created for posts. I’ve just added title , slug and author but you can add more as you please.
gatsby-plugin-mdxautomatically adds a slug (opens in a new tab) field to each MDX node. That usuallu doesn’t contain the full path and you have to construct it in thegatsby-node.jsfile. Hence, I prefer to add it in thefrontmatter.
NOTE: View the raw file to properly see the frontmatter.
---
slug: /blog/post-1
author: Brion Mario
title: First sample blog post.
---

This is my first sample blog post created with MDX. I'm just goofing around here 🦄
Create pages from MDX files
Now we need to create pages for the above-created MDX files. For that, we need to edit the gatsby-node.js file.
const path = require("path");

exports.createPages = async ({ graphql, actions, reporter }) => {

    // Destructure the createPage function from the actions object
    const { createPage } = actions;

    const result = await graphql(`
        query BLOG_POSTS {
            allMdx {
                edges {
                    node {
                        id
                        frontmatter {
                          slug
                        }
                    }
                }
            }
        }
    `);

    if (result.errors) {
        reporter.panicOnBuild("🚨  ERROR: Loading \"createPages\" query");
    }

    // Create blog post pages.
    const posts = result.data.allMdx.edges;

    // you'll call `createPage` for each result
    posts.forEach(({ node }, index) => {
        createPage({
            // This component will wrap our MDX content
            component: path.resolve("./src/templates/blog-post-template.tsx"),
            // Pass any value you want to access inside the template. They'll be available via `props`.
            context: {
                id: node.id
            },
            // Slug defined with frontmatter in each MDX file.
            path: node.frontmatter.slug
        });
    });
};
In the createPage you can see that I’ve pointed a template as the component. This is basically a layout for our blog posts. You can easily create a React component as you wish. Following is the one I created.
import { MDXProvider, MDXProviderComponentsProp } from "@mdx-js/react";
import cx from "classnames";
import { graphql } from "gatsby";
import { MDXRenderer } from "gatsby-plugin-mdx";
import React, { FunctionComponent, ReactElement } from "react";
import { Blockquote, Heading, Paragraph, SiteLayout } from "../components";
import { StylableComponentInterface, TestableComponentInterface } from "../models";

// FIle level ESLint Overrides.
/* eslint-disable react/display-name */

/**
 * Interface for the Blog Post template props.
 */
interface IBlogPostTemplateProps extends TestableComponentInterface, StylableComponentInterface {
    data: any;
}

const components: MDXProviderComponentsProp = {
    blockquote: Blockquote,
    h1: Heading.H1,
    h2: Heading.H2,
    h3: Heading.H3,
    h4: Heading.H4,
    h5: Heading.H5,
    h6: Heading.H6,
    ol: (props) => {
        return (


                { props.children }


        );
    },
    p: Paragraph,
    ul: (props) => {
        return (


                { props.children }


        );
    }
};

/**
 * Page Template for blog posts.
 *
 * @param {IBlogPostTemplateProps} props - Props injected to the component.
 * @return {React.ReactElement}
 */
const BlogPostTemplate: FunctionComponent = (
    props: IBlogPostTemplateProps
): ReactElement => {

    const {
        data,
        "data-testid": testId
    } = props;

    const classes = cx(
        "blog-post-layout"
    );

    return (
        { data.mdx.frontmatter.date }


                            { data.mdx.frontmatter.title }


                        {
                            data.mdx.frontmatter.author && (


                                    [{ data.mdx.frontmatter.author }](/)


Author


                            )
                        }


                    { data.mdx.body }
    );
};

/**
 * Default props for the component.
 * @type {{"data-testid": string}}
 */
BlogPostTemplate.defaultProps = {
    "data-testid": "blog-post-template"
};

export const query = graphql`
    query BlogPostQuery($id: String) {
        mdx(id: { eq: $id }) {
            id
            body
            frontmatter {
                title
                author
            }
        }
    }
`;

export default BlogPostTemplate;
Now let’s start the server and navigate first to the GraphQL dashboard.
Typically runs on http://localhost:8000/___graphql
Execute the following query and check the results.
query BLOG_POSTS {
    allMdx {
        edges {
            node {
                id
              	slug,
              	frontmatter {
             	  date(formatString: "YYYY MM Do")
                  author
                  title
                  slug
                }
            }
        }
    }
}
You’ll see something like the following. Play around and add anything you want to the frontmatter so that you can consume them in the template file.

If I navigate to http://localhost:8000/blog/post-1 now, I can see the following 🎉.
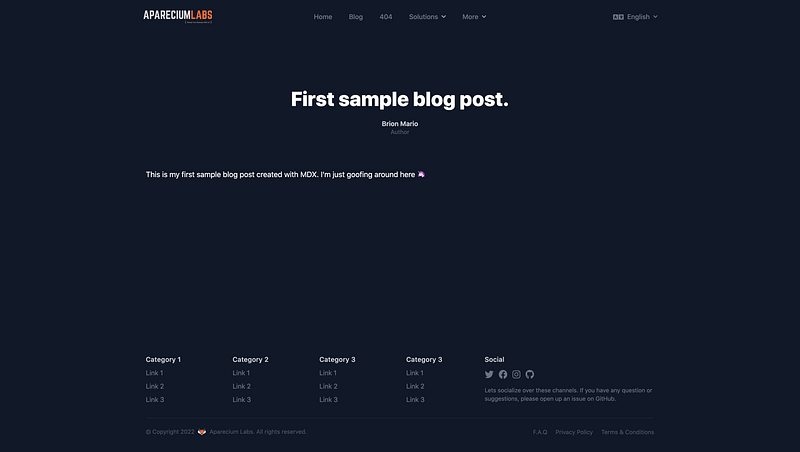
Build a Blog Index
Now that we have set up the base for the posts, let's add an index for the blogs page.
import { Link, PageProps, graphql, useStaticQuery } from "gatsby";
import React, { FunctionComponent, ReactElement } from "react";
import { Heading, SEO, SiteLayout } from "../components";
import { TestableComponentInterface } from "../models";

/**
 * Interface for the Pricing Page props.
 */
type IPricingPageProps = TestableComponentInterface;

/**
 * Pricing page of the site.
 *
 * @param {PageProps} props - Props injected to the component.
 * @return {React.ReactElement}
 */
const BlogPage: FunctionComponent> = (
    props: PageProps ): ReactElement => {

    const {
        data
    } = props;

    const {
        "data-testid": testId
    } = data;

    const query = useStaticQuery(
        graphql`
            query BLOG_POSTS_INDEX {
                allMdx(sort: {fields: frontmatter___date, order: ASC}) {
                    edges {
                        node {
                            id
                            frontmatter {
                                date(formatString: "YYYY MM Do")
                                author
                                title
                                slug
                            }
                        }
                    }
                }
            }
        `
    );

    return (
        Blog


                            These are some of the blogs we have written over the years. Please have a look and
                            contact us if you have any issues.


                                {
                                    query.allMdx.edges.map((post: any, index: number) => (


                                                    — { post.node.frontmatter.date }


                                                    { post.node.frontmatter.title }


                                                    { post.node.excerpt }


                                                    Read more


                                    ))
                                }
    );
};

/**
 * Default props for the component.
 * @type {{data: {"data-testid": string}}}
 */
BlogPage.defaultProps = {
    data: {
        "data-testid": "blog-page"
    }
};

export default BlogPage; 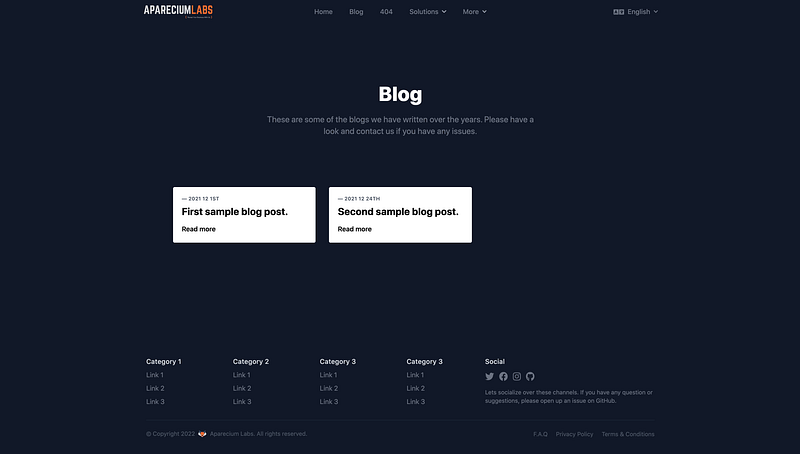
What’s Next!
Now that you have a base to proceed, you can let your imagination run wild and create your own design and implementation.
In case your blog posts have remote images, the gatsby-node.js file configuration will look a bit different. You will have to use _createRemoteFileNode_ function from gatsby-source-filesystem module. Check out the implementation here (opens in a new tab).
And if you use Trypescript, you will have to add additional typings and also use the createSchemaCustomization function in the gatsby-node.js to extend frontmatter typings. Check out the finalized PR (opens in a new tab) to access the source code.
You’ll end up with a result like below.


Conclusion
Hope you found this blog post useful.
Links
Signing off… ✌️❤️